Backpacks & Packing: Fit, Volume and a Dry Load
Torso fit, capacity and a waterproof packing order that keeps your sleeping bag dry no matter what.
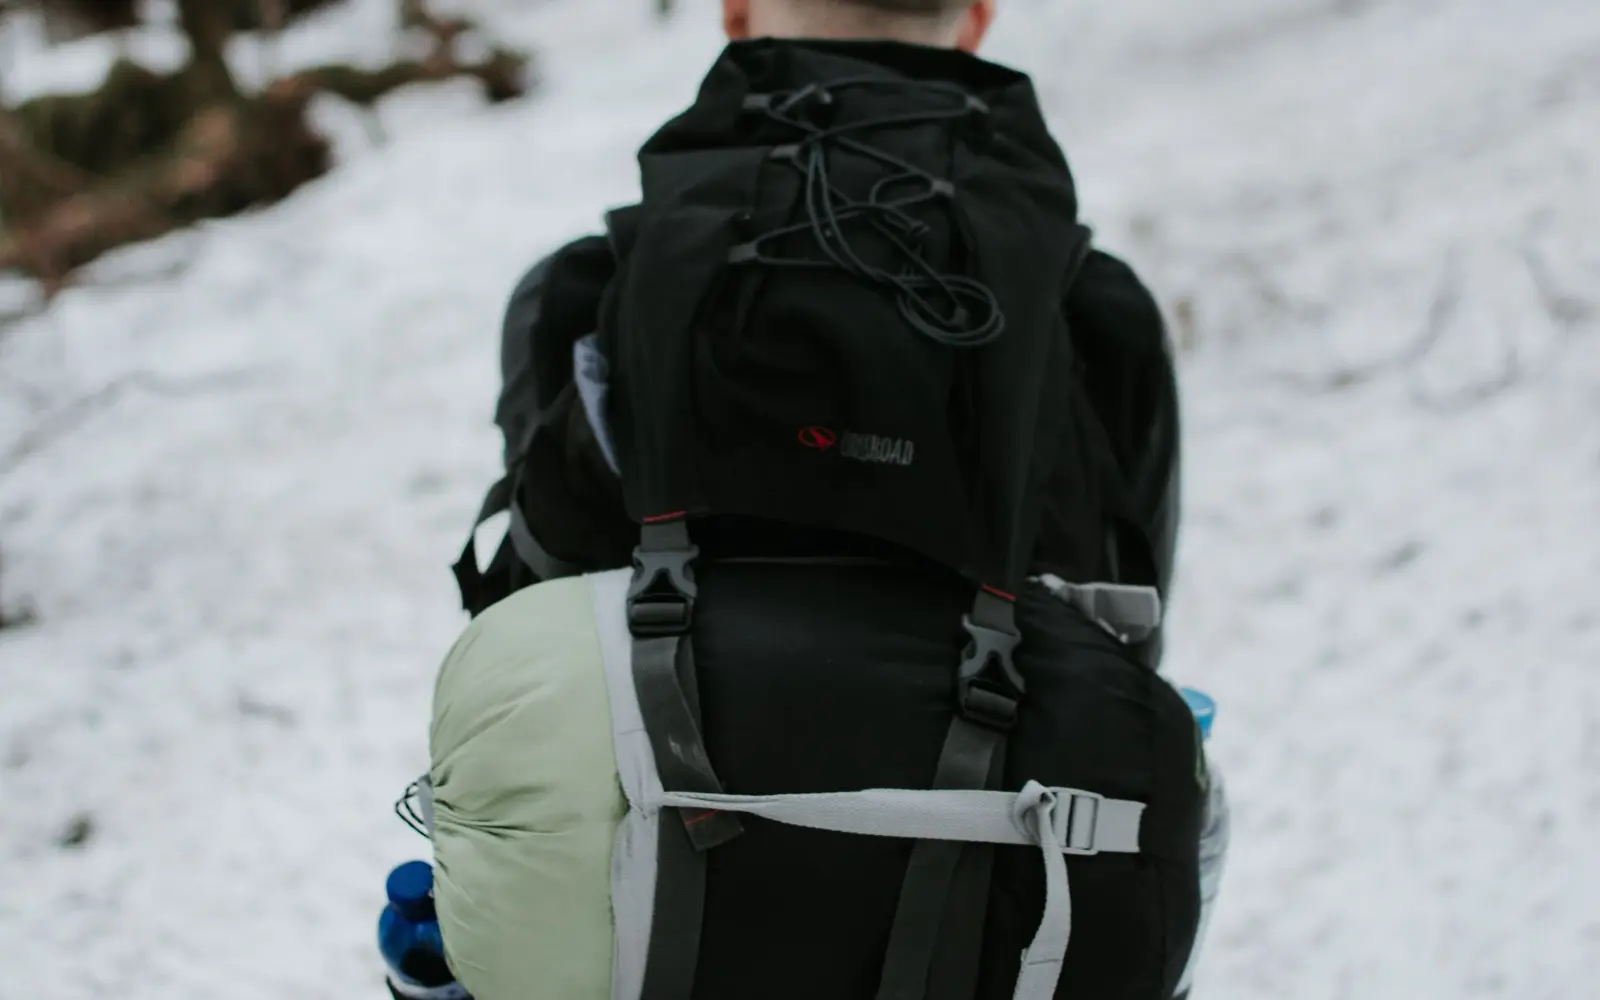
A pack does two things: it carries your gear and it transfers that weight to your body in a way you can live with for hours. The best pack for you is the one that fits your torso, carries your typical load comfortably and keeps your critical gear dry. Brand and color come a distant fourth.
This guide covers how to size a pack, what features are worth paying attention to, and how to load it for wet Northwest trails.
Capacity: how big is big enough?
Pack volume is measured in liters. Rather than relying on rigid categories, think about your gear and trip length.
- Day hikes: a daypack in the range of roughly 18 to 30 liters fits the ten essentials, water, lunch and a spare insulating layer.
- Overnight to weekend trips: roughly 40 to 55 liters suits most people with reasonably compact gear.
- Longer trips or bulky gear: 55 liters and up, especially if you carry a bear canister, winter layers or gear for a child.
If your sleeping bag and tent are bulky, you will need more volume. It is often better to pack your gear first, see how much space it occupies, and then choose a pack, rather than buying a pack and trying to squeeze everything in.
Fit is everything
Measure your torso
Torso length, not height, determines pack size. Measure from the prominent bone at the base of your neck (the C7 vertebra) down to the line between the tops of your hip bones. Many packs come in sizes or have adjustable back panels to match this measurement.
Hipbelt
The hipbelt should wrap over the top of your hip bones, carrying most of the load there rather than on your shoulders. The padded wings should sit comfortably on the bones without leaving large gaps or meeting entirely in front.
Shoulder straps and load lifters
Shoulder straps should wrap smoothly over your shoulders without gaps. Load lifters, the small straps that connect the top of the shoulder straps to the pack body, pull the load closer to your back when snugged at a moderate angle.
Sternum strap
The sternum strap keeps shoulder straps from sliding outward. It should sit comfortably across your chest without restricting breathing.
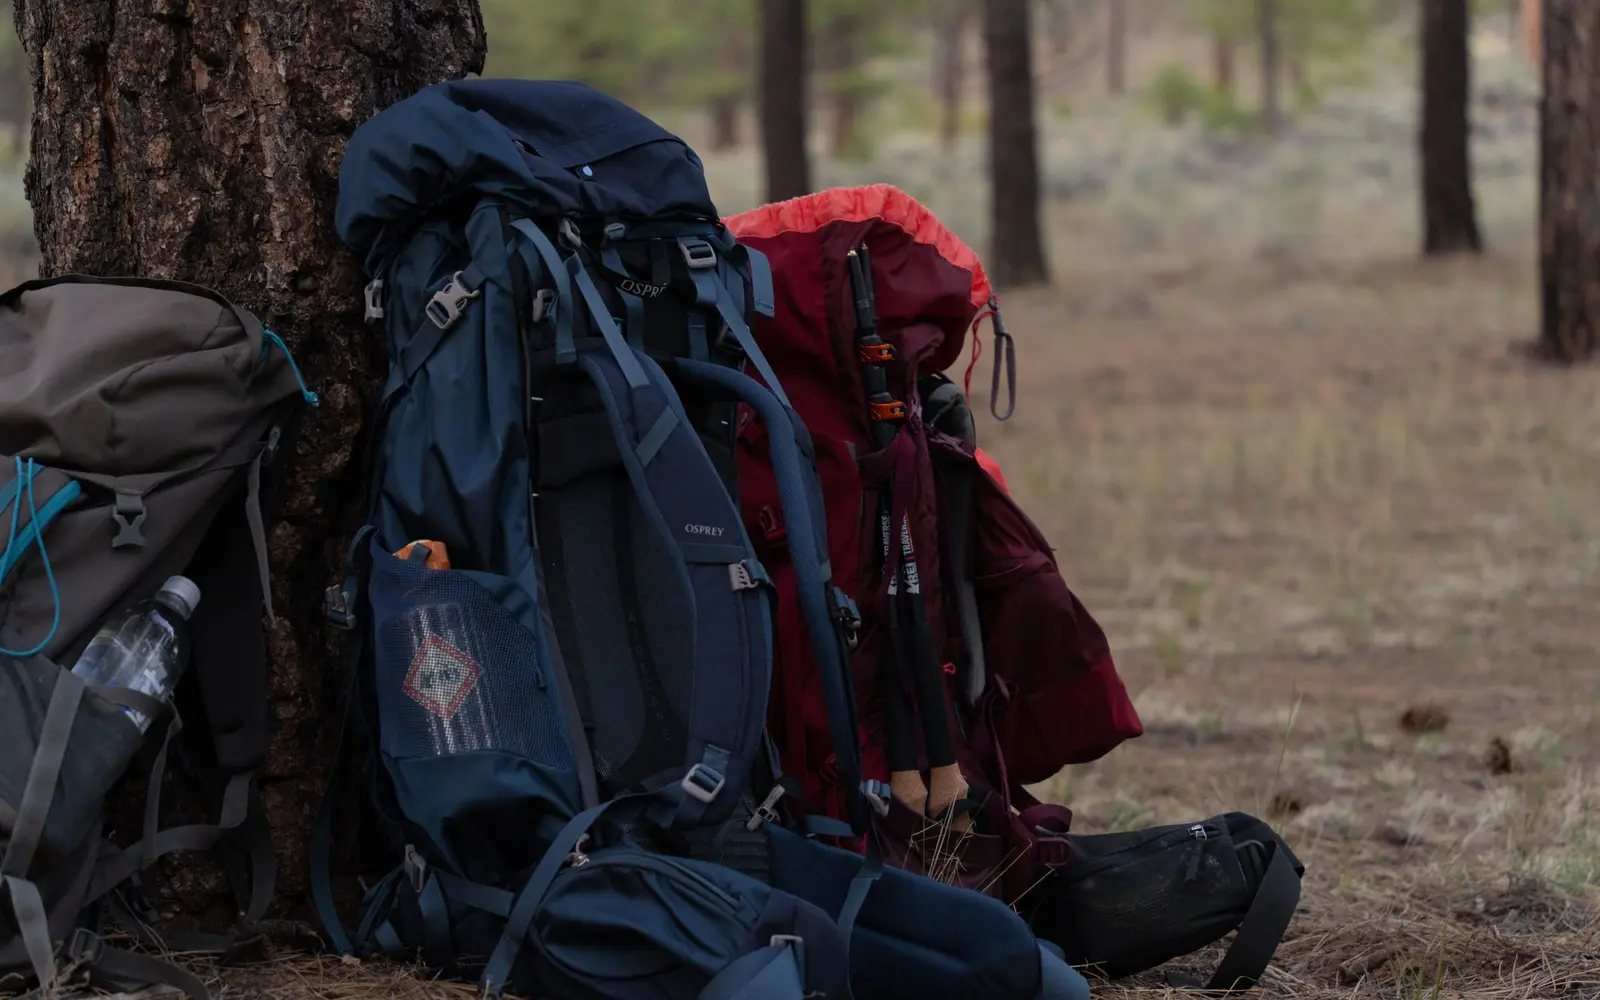
Load a pack with realistic weight before you judge the fit. An empty pack feels great on everyone. Bring your own gear or use weighted bags in the store and walk around, including up and down stairs.
Features worth paying attention to
- Frame and back panel: internal frames handle heavier loads; suspended mesh backs ventilate well but can push the load away from your back.
- Access: top-loading packs are simple and weather resistant; front panel or side zippers make it easier to reach gear in the middle.
- Pockets: a stretchy front pocket is perfect for a wet rain fly or shell; hipbelt pockets hold snacks, a phone and lip balm.
- Water bottle pockets you can reach without taking the pack off.
- Compression straps to stabilize smaller loads and lash on a foam pad.
Keeping the inside dry
Pack fabrics are often water resistant, but seams, zippers and the fabric itself will let water through in steady rain. Rain covers help, but they can blow off or collect water at the bottom, and they leave the back panel exposed. The reliable solution in our climate is a waterproof liner inside the pack: a purpose-made pack liner, a heavy trash compactor bag, or a set of dry bags.
Your sleeping bag and dry sleep clothes are the items that must never get wet. Keep them in their own dry bag inside the liner.
Packing order: bottom, middle, top
- Bottom: sleeping bag and other bulky items you will not need until camp.
- Middle, close to your back: the densest, heaviest items such as food, cook kit, water reservoir and bear canister. Keeping weight close and centered improves balance.
- Middle, outer side: tent body, insulating layers.
- Top: things you may need during the day: insulating jacket, first-aid kit, water treatment, toilet kit.
- Outer pockets: rain shell, map, snacks, sun protection, headlamp.
For rocky or off-trail travel, keep heavy items slightly lower for stability. On a smooth trail, slightly higher heavy items can feel more natural.
Adjusting on the trail
Put the pack on, then tighten straps in this order: hipbelt, shoulder straps, load lifters, sternum strap. Revisit them throughout the day. On a long descent, a slightly tighter hipbelt reduces shoulder strain. On a climb, loosening the load lifters a little can improve ventilation and posture. If you feel numbness or pinching, stop and adjust before it turns into a sore spot.
Care and storage
- Empty the pack fully after each trip and shake out debris.
- Hand-wash with mild soap if needed; avoid washing machines unless the maker allows it.
- Dry completely out of direct sun before storage.
- Inspect buckles, stitching and zippers before the season starts.
A well-fit pack, packed with care, turns a heavy load into a manageable one. Spend your time on fit and organization, and every mile of trail feels a little easier.