Gear Maintenance After a Trip: The 60-Minute Reset
The end of a camping trip is when motivation runs lowest. You are tired, the car is full of damp, sandy bags, and a hot shower is calling. But the hour after you get home has a bigger effect on how long your gear lasts than almost anything you do on the trail. Mildew, corroded zippers and clogged stoves usually start with a bag that was "unpacked later."
Here is a simple routine we call the 60-minute reset. It does not need special tools, and it pays off every single time.
Step 1: Unload everything (10 minutes)
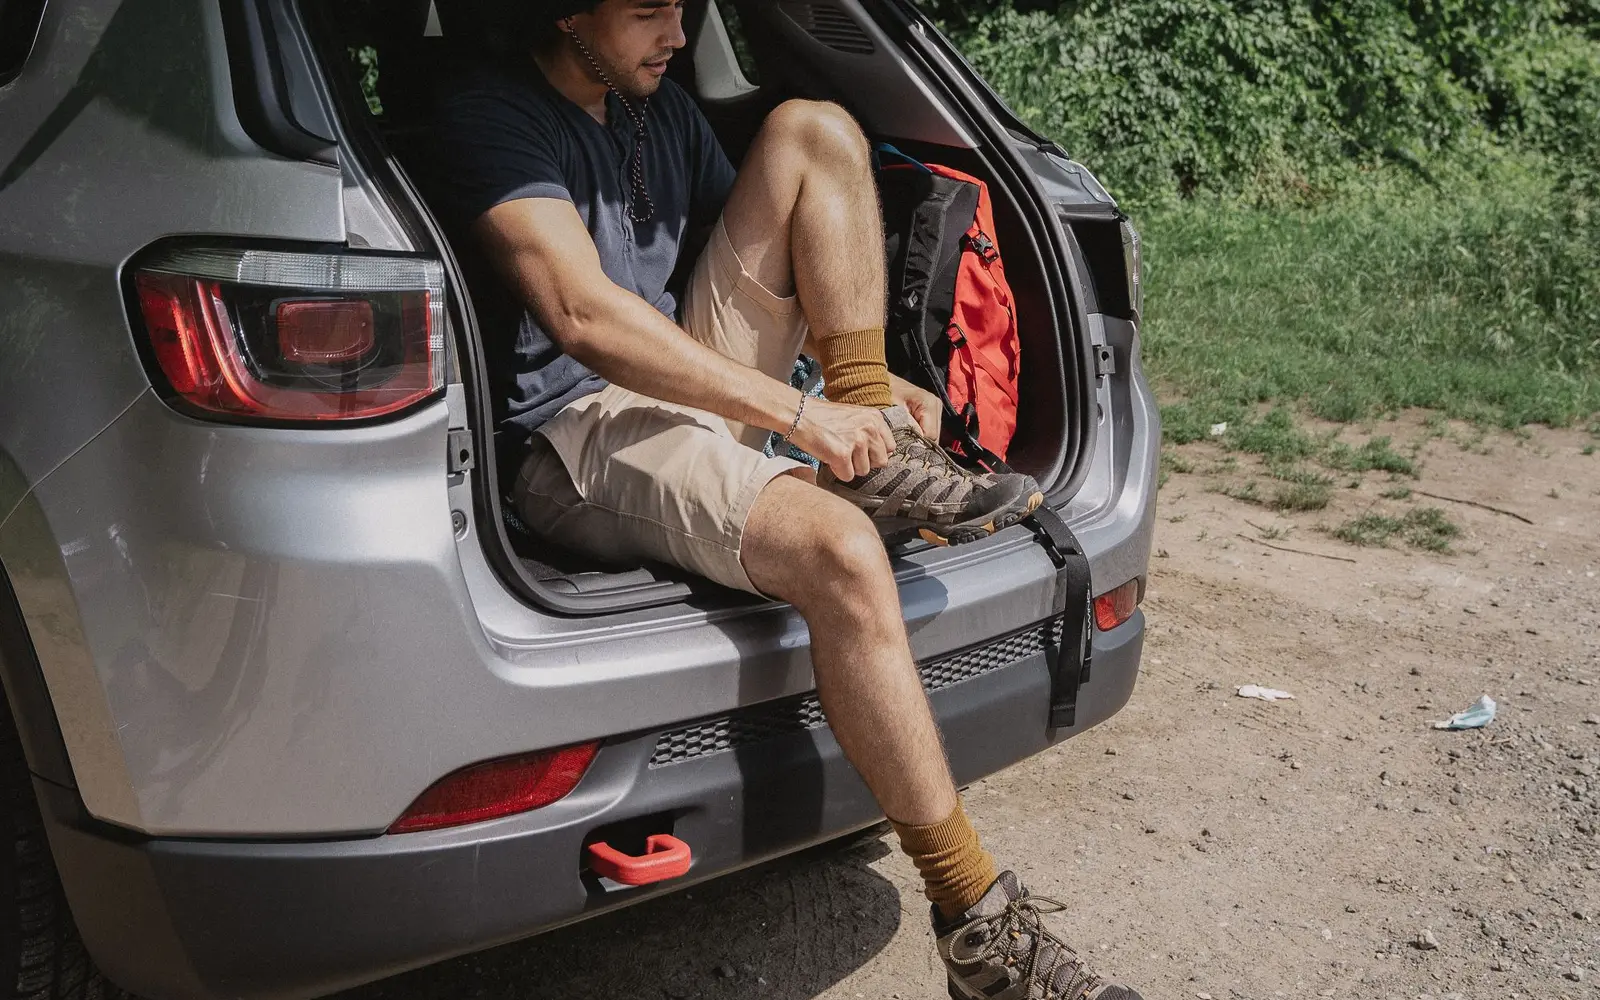
Bring every bag inside and open them all. Do not leave anything in the trunk "for next time." Sort gear into three piles: things that need drying, things that need cleaning, and things that are ready to put away.
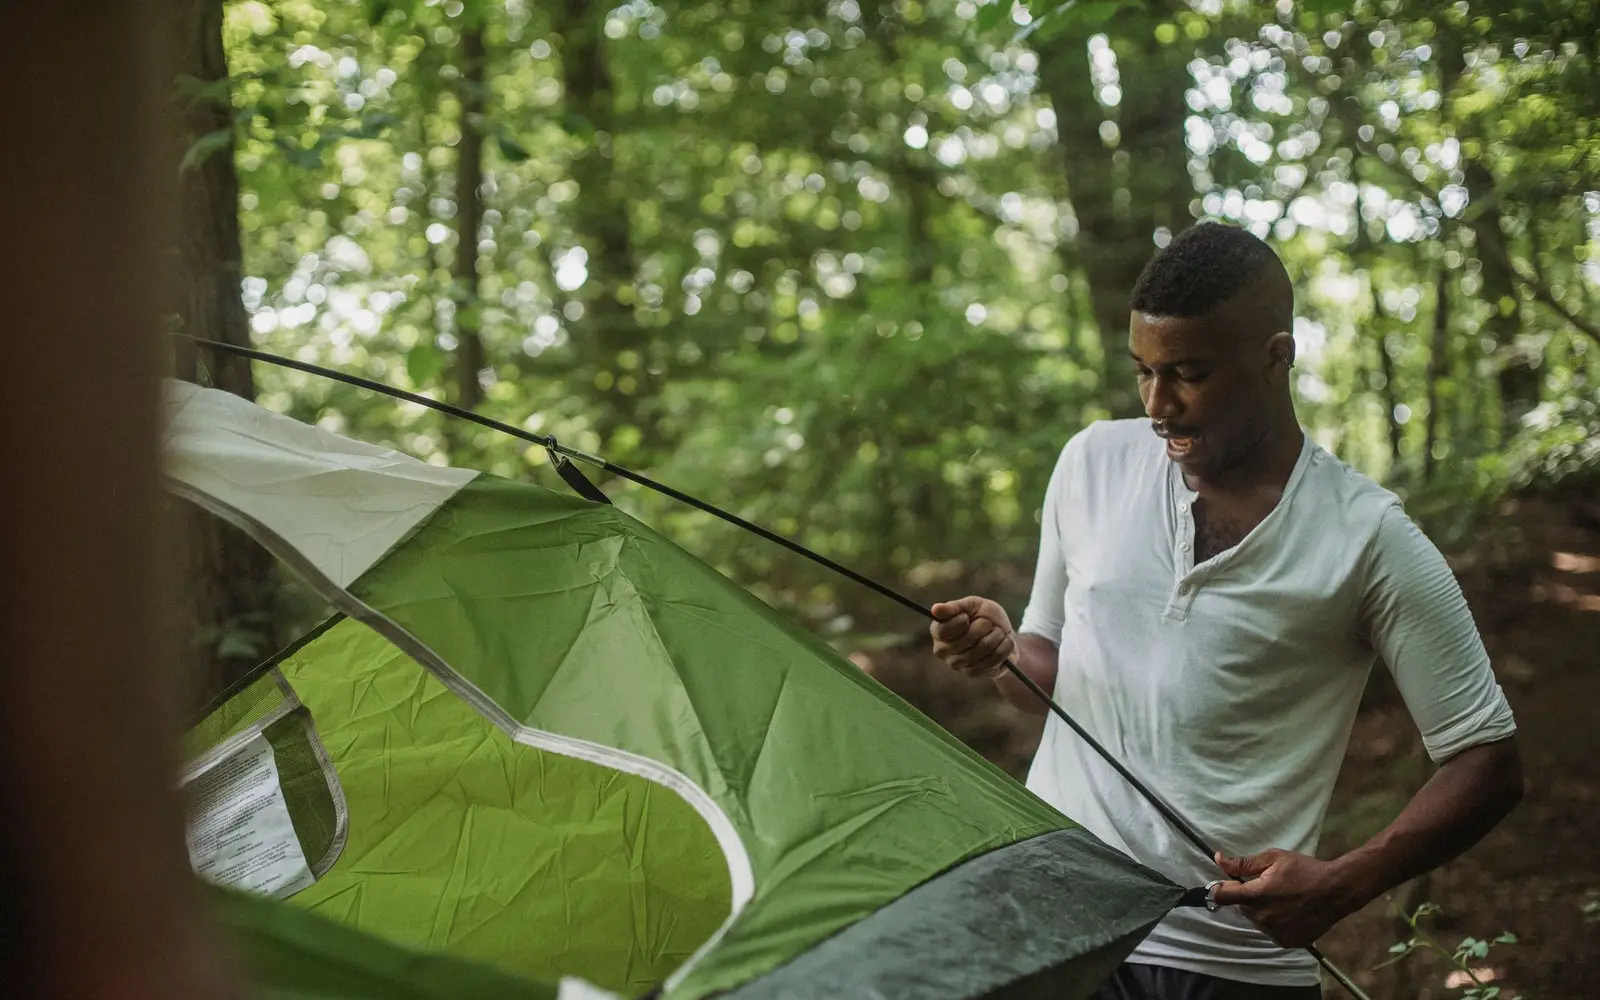
Step 2: Dry the shelter (10 minutes to set up)
Tents are the item most often ruined by damp storage. Coatings on the fly and floor can break down when stored wet, producing a sticky surface and a distinct smell, and mildew stains are permanent.
- Set up the tent in a garage, a spare room or a covered porch, or drape the fly, inner tent and footprint over chairs and a clothesline.
- Open all doors and vents.
- Shake out sand and needles. Wipe the floor with a damp cloth if muddy.
- Leave it until completely dry, including seams and stake loops. This may take a day or more in humid weather.
Dry tarps, guylines and stake bags too. Count your stakes while you are at it.
If you truly cannot dry the tent the same day, at least take it out of its stuff sack and spread it loosely somewhere ventilated. Never leave it compressed and damp.
Step 3: Sleeping bags and pads (5 minutes)
- Remove sleeping bags from stuff sacks, unzip them fully and hang or lay them flat to air out.
- Open the valve on inflatable pads and let them dry inflated, then store them unrolled with the valve open if you have space.
- Store bags in a large breathable storage sack or hang them, never in a tight compression sack.
Step 4: Clean the kitchen (15 minutes)
Food residue attracts pests at home and corrodes gear over time.
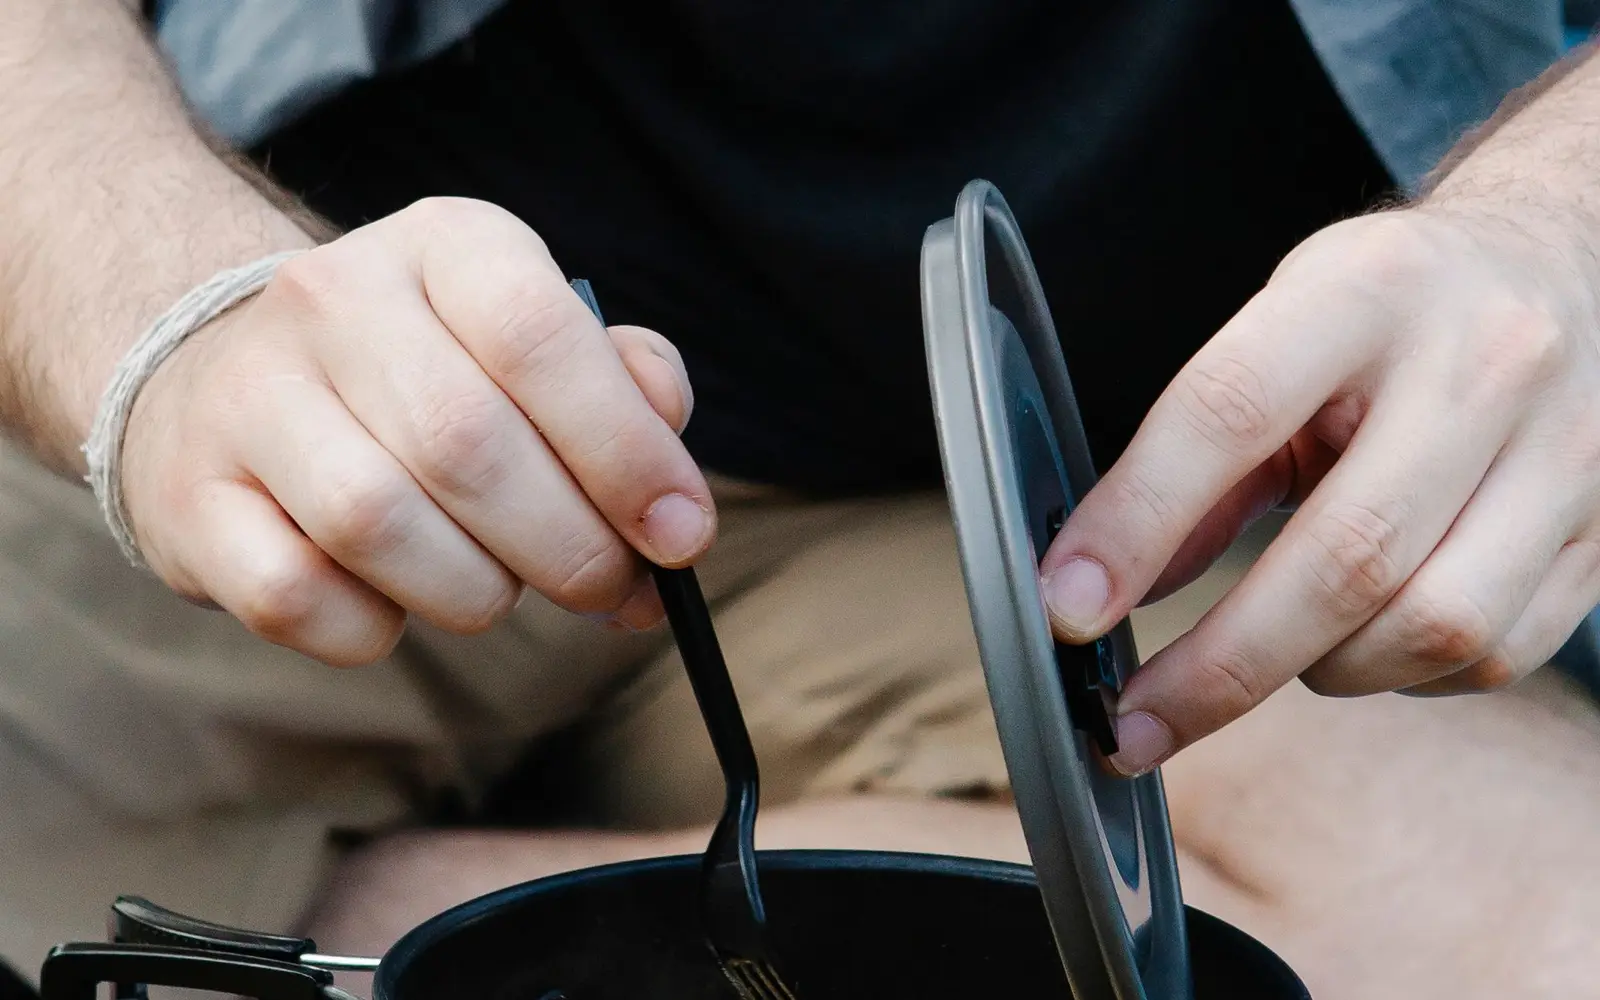
- Wash pots, utensils, bowls and mugs with hot soapy water and dry fully.
- Empty and wash water bottles and reservoirs; let them dry open.
- Wipe the stove and check burner ports and fuel lines for debris. Follow the manufacturer's instructions for any cleaning.
- Disconnect fuel canisters and store them according to their labels, away from heat sources and living spaces.
- Backflush or clean water filters as directed and let them dry before storage, unless the instructions say otherwise.
Step 5: Clothes and rain gear (10 minutes)
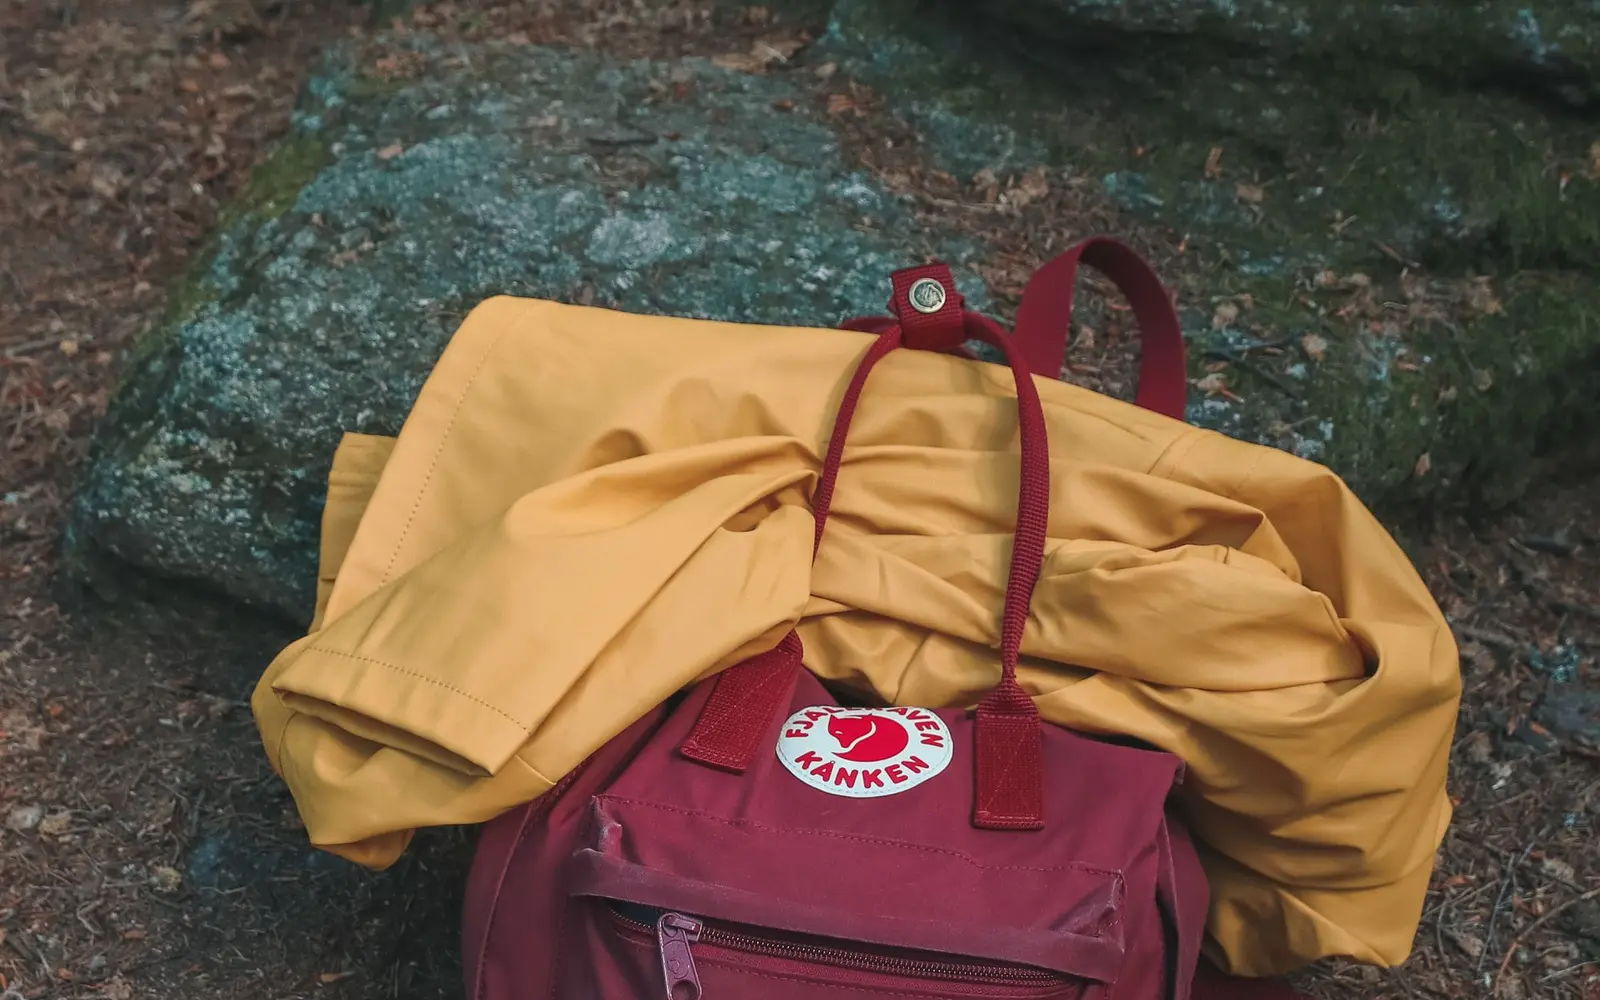
Most base layers, fleece and socks can go straight into the wash. Treat rain gear a little differently.
- Wash rain shells only when they are visibly dirty or not beading water, using a cleaner designed for technical fabrics.
- Check seam tape inside jackets for peeling edges.
- Note when water stops beading so you know when to refresh the water repellent.
- Clean mud off boots with a brush and water, remove insoles, and dry at room temperature away from direct heat.
Step 6: Inspect and repair (5 minutes)
Look over everything as it dries. Small issues are easy to fix at home and annoying to discover at a trailhead.
- Tent: small holes in mesh or fly, bent pole segments, frayed guylines, broken zipper sliders.
- Pack: loose stitching, cracked buckles, worn hipbelt padding.
- Pads: slow leaks. Inflate and listen, or check with soapy water.
- Headlamp: dim output, corroded battery contacts.
Keep a small repair box at home with gear repair tape, seam sealer, a needle and strong thread, spare buckles and a pole repair sleeve.
Step 7: Restock (5 minutes)
Write a quick list of anything used up or missing: first-aid supplies, fuel, toilet paper, batteries, sunscreen, bug repellent, matches, trash bags, snacks. Replace them now, or add them to your shopping list, so the next trip starts with a complete kit.
A good test: if you had to leave tomorrow morning for another trip, could you grab your bins and go? If yes, the reset is done.
Storing gear between trips
- Store gear in a cool, dry place out of direct sunlight. Hot attics and damp basements are hard on coatings and adhesives.
- Use clear, labeled bins by category: shelter, kitchen, sleep, lighting and safety.
- Keep a printed checklist on the lid of each bin.
- Remove batteries from devices you will not use for a while.
Make the reset a habit
The easiest way to keep up with maintenance is to make it part of the trip itself. Block out the first hour after you get home on your calendar, just like the drive. If you camp with family or friends, split the jobs: one person handles the kitchen bin, another sets up the tent to dry, another starts laundry. Many hands make the reset quick, and everyone learns how the gear works.
Keep a simple log as well. A note on your phone listing the date, location, weather and anything that needed repair helps you spot patterns, such as a zipper that keeps sticking or a pad that slowly loses air.
Seasonal deep care
Once or twice a year, give gear more attention: wash sleeping bags with an appropriate cleaner if they are grimy or losing loft, refresh water repellent on tent flies and rain gear, reseal tent seams where needed, and lubricate zippers with a product made for that purpose. These small jobs help gear perform well and last for many seasons.
Quick FAQ
How long should a tent dry?
Until every part is completely dry, including seams, corners and stake loops. In humid weather this can take a full day or more.
Should I wash my sleeping bag after every trip?
No. Air it out after each trip and wash only when it is dirty or losing loft, using a cleaner suited to its insulation.
How do I know my rain jacket needs re-treating?
When water soaks into the outer fabric instead of beading up, it is time to clean the jacket and refresh the water repellent.