Building a Ten Essentials Kit for Northwest Trails
The "Ten Essentials" originated with climbers in the Pacific Northwest generations ago, and the idea remains as useful as ever. It is a checklist of the systems you need to handle an unexpected night out, a navigation mistake or a minor injury. Today the list is usually framed as ten systems rather than ten specific items, so you can tailor the kit to your trip.
Here is how to build a compact, practical kit that lives in your daypack and comes along on every outing, even short ones.
1. Navigation
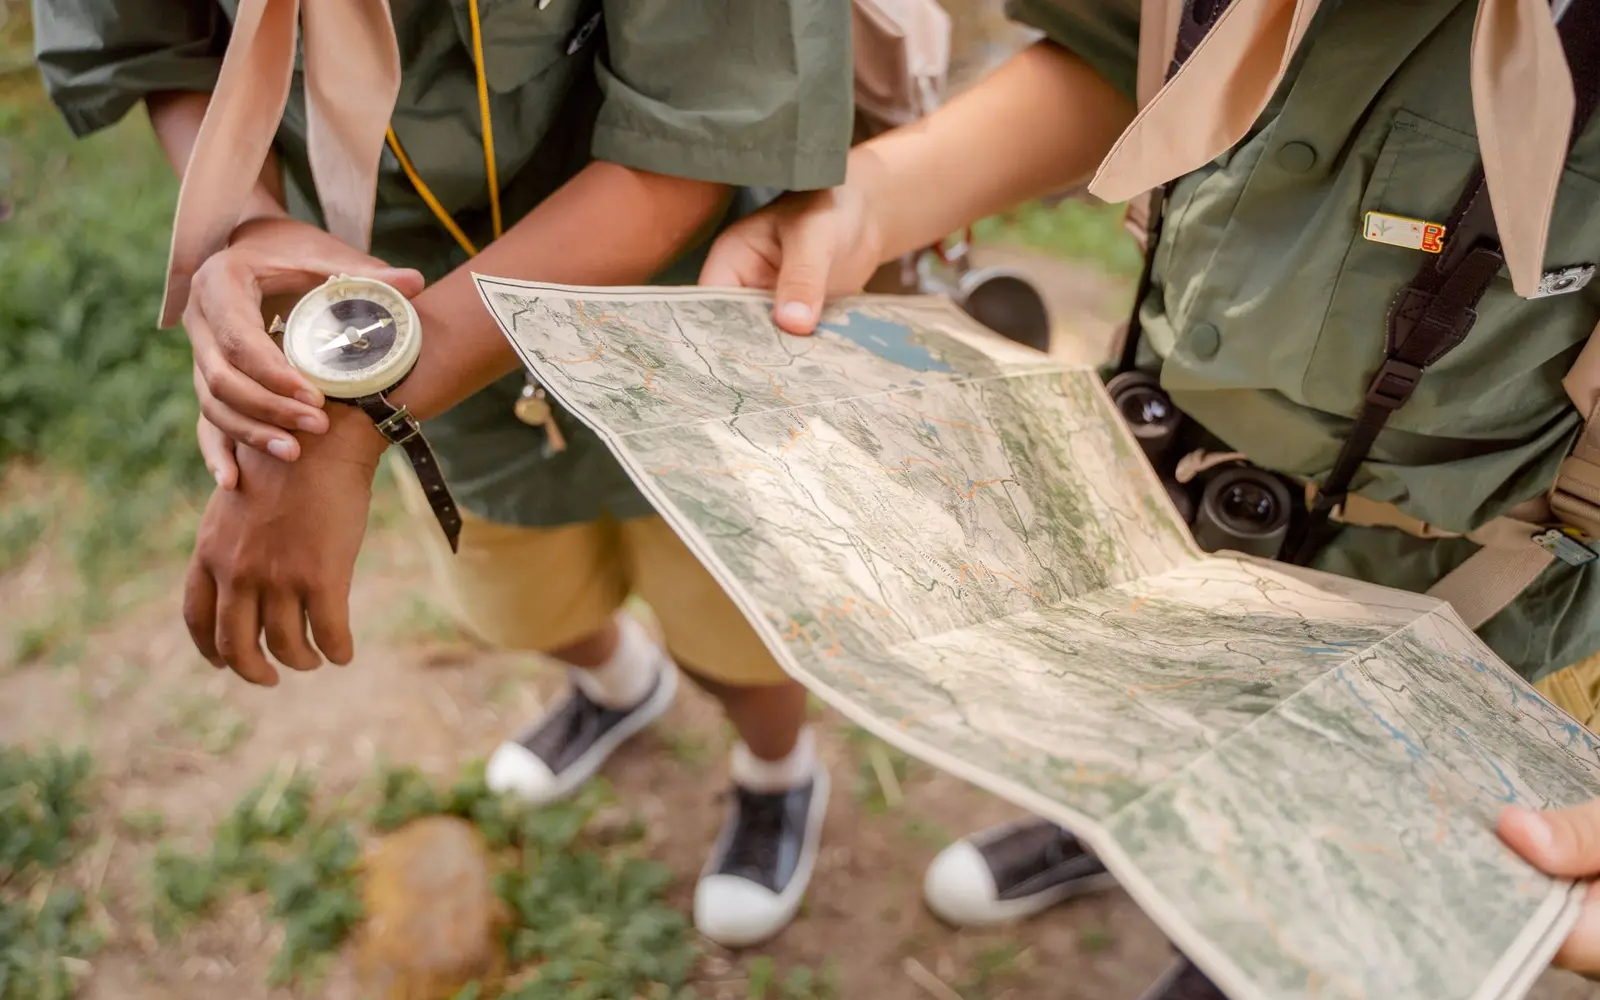
Carry a map of the area, a compass, and a phone or GPS device with offline maps downloaded. Each one covers for the others. In fog or deep forest, landmarks disappear quickly, and phone batteries drain faster in the cold.
- Topographic map in a waterproof sleeve.
- Baseplate compass with adjustable declination.
- Phone with offline maps and a small power bank.
2. Headlamp
A headlamp is non-negotiable, even on a morning hike. Delays happen, and autumn and winter daylight under a forest canopy ends early. Carry spare batteries or make sure your rechargeable lamp is charged before every trip.
3. Sun protection
Sun protection might seem odd for the "rainy" Northwest, but summer days in the Cascades, on snowfields and on open beaches can bring strong sun. Pack sunglasses, sunscreen, lip balm with SPF and a hat. On snow, UV exposure increases noticeably.
4. First aid
Start with a basic kit and adapt it. Include blister care, wound care, tape, tweezers, any personal medications and a few pain relievers suitable for you. Add nitrile gloves and an emergency blanket. Knowing how to use what you carry matters more than carrying a lot.
Open your first-aid kit at home and lay everything out. If you do not recognize an item or know how to use it, look it up or replace it with something you understand.
5. Knife and repair
A small knife or multitool handles food, first aid and gear repairs. Add a few wraps of gear repair tape around a water bottle or trekking pole, a couple of zip ties and a short length of cord. These cover a surprising number of field fixes, from a torn pack strap to a broken buckle.
6. Fire
Carry two ways to start a fire, such as a lighter and waterproof matches, plus a small amount of fire starter. In wet Northwest forests, dry tinder is rare, so purpose-made fire starters are worth their weight. Use fire only in a genuine emergency or where permitted, and always follow current restrictions.
7. Emergency shelter
If you are forced to spend a night out, a lightweight emergency bivy or a large heavy-duty plastic bag can help retain heat and keep you out of the rain. Many hikers carry a small tarp or emergency blanket. In our climate, protection from wet and wind is the priority.
8. Extra food
Pack more food than you plan to eat: at least an extra day's worth of calories for overnight trips, or a substantial snack bag for day hikes. Choose foods that do not need cooking and that you actually like eating when tired and cold.
9. Extra water
Carry enough water for your route plus a means to treat more. A lightweight filter or chemical treatment allows you to refill from streams and lakes. Even in a wet region, some ridges and late-summer trails have little water.
10. Extra clothes
Pack layers that would keep you warm if you had to stop moving for hours: an insulating jacket, a warm hat, gloves, and a waterproof shell. Synthetic insulation is a good choice for this role because it keeps working when damp.
Packing the kit
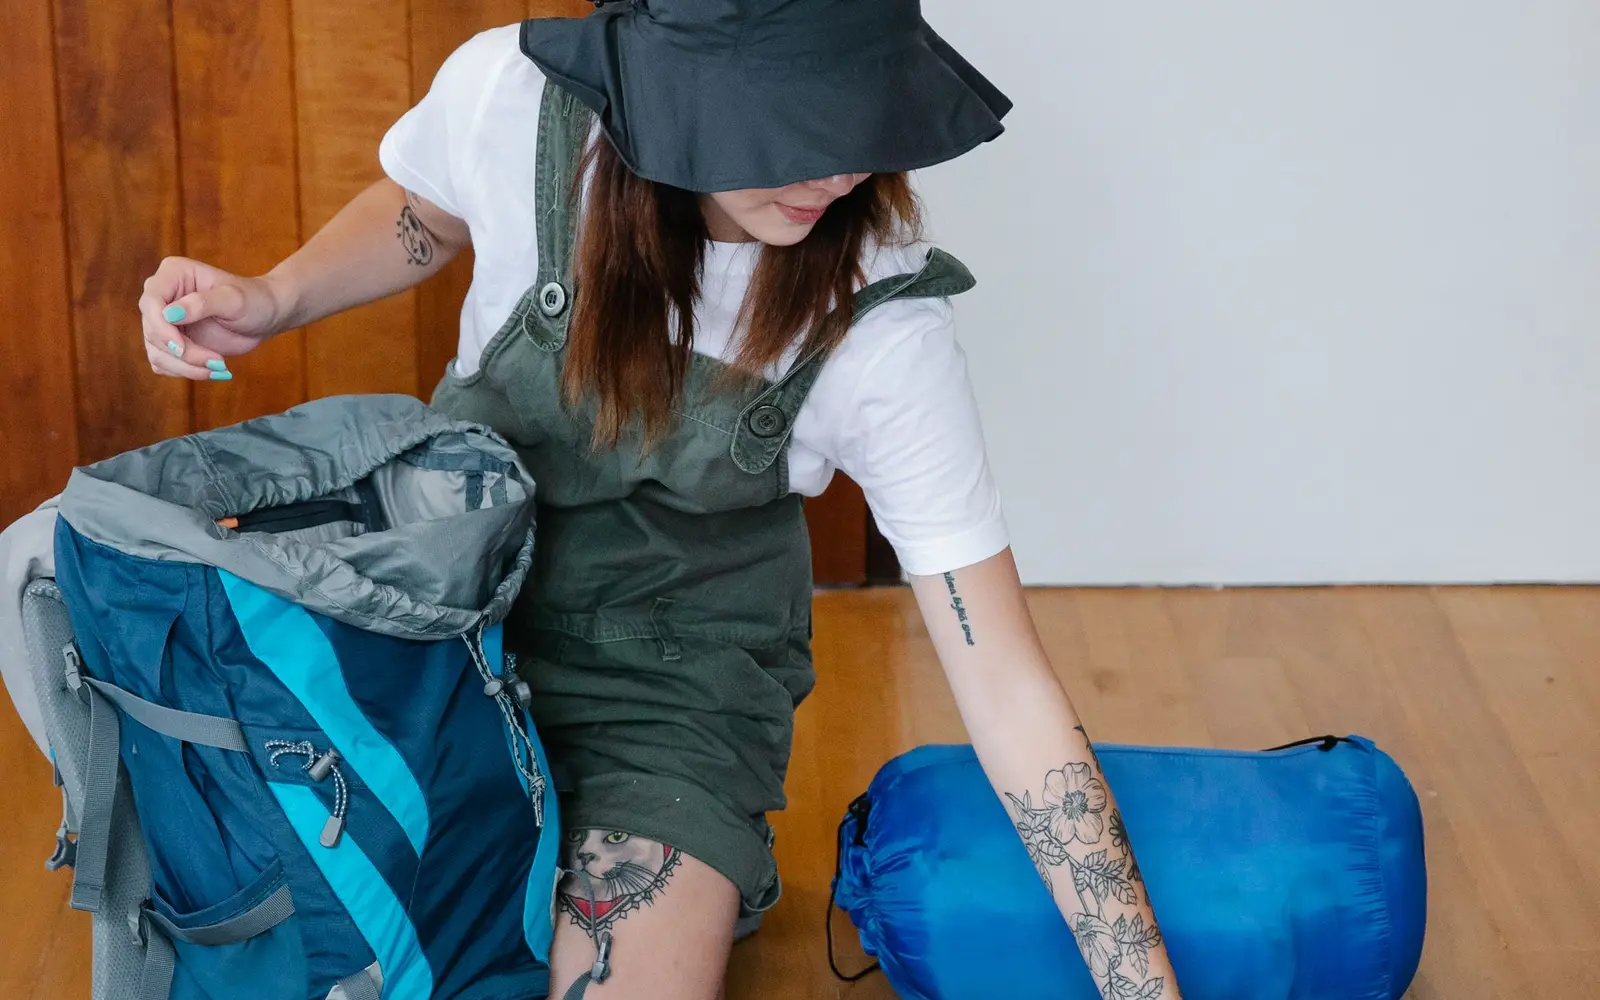
A ten essentials kit should be grab-and-go. Build it once and keep it ready.
- Use a bright-colored stuff sack or dry bag so it is easy to find.
- Keep small items (first aid, fire, repair) in a second, smaller pouch inside.
- Store the kit in your daypack between trips, not in a closet.
- Add only the trip-specific items each time: map, food, water and clothes.
Adjusting for season and group
Winter and shoulder seasons
Add warmer layers, a second insulating layer, an insulated bottle for a hot drink, extra batteries and possibly traction devices for icy trails.
Hiking with kids
Give children a whistle and a small headlamp of their own, and teach them to stay put and blow the whistle if separated. Add extra snacks and a spare layer for each child.
Remote trips
Consider a satellite messenger or personal locator beacon, and leave a detailed trip plan with someone at home.
The ten essentials are not about expecting disaster. They are about being able to deal calmly with the small surprises every trail eventually throws at you.
Common mistakes to avoid
- Leaving the kit at home for "short" hikes. Most unplanned nights out begin on routes people thought were easy.
- Carrying gear you cannot use. A compass is only helpful if you have practiced with it.
- Forgetting to recharge. A dead headlamp or phone is as useful as none at all.
- Packing cotton as the extra layer. Once damp, cotton loses its warmth quickly.
Keep it maintained
Check the kit at the start of each season: replace expired medications, recharge or replace batteries, restock food, and make sure your map covers the areas you are visiting this year. A well-maintained kit adds very little weight and a lot of confidence.
Quick FAQ
Do I need the ten essentials for a short hike?
Yes. Short hikes are where people are least prepared, and small delays can easily turn into a night out.
Can my phone replace a map and compass?
A phone with offline maps is a great tool, but batteries fail and screens break. Carry a paper map and compass as backup.
What emergency shelter is lightest?
An emergency bivy or space blanket is very light; a small tarp offers more protection in sustained rain.